Run Offline ChatGPT Like AI on Your Machine Using Docker
How to Set Up OpenWeb-UI on Your Machine Using Docker
Open WebUI is an extensible, feature-rich, and user-friendly self-hosted AI platform designed to operate entirely offline. It supports various LLM runners like Ollama and OpenAI-compatible APIs, with built-in inference engine for RAG, making it a powerful AI deployment solution. Here’s a step-by-step guide to get you started.
Prerequisites
Before diving in, ensure the following are in place:
- Docker Installed: Download and install Docker from the official website if you haven’t already.
- Basic CLI Knowledge: Familiarity with command-line operations will make the process easier.
Step 0: Run Ollama
Follow Step 1 & 2 from this blog.
Step 1: Run OpenWeb-UI Using Docker
OpenWeb-UI provides a pre-built Docker image, making the setup process straightforward. Use the following command to pull and run the OpenWeb-UI container:
1
docker run -d -p 3000:8080 --add-host=host.docker.internal:host-gateway -v open-webui:/app/backend/data --name open-webui --restart always ghcr.io/open-webui/open-webui:main
Here’s what the command does:
-d: Runs the container in detached mode.-p 3000:8080: Maps port 8080 inside the container to port 3000 on your machine.--add-host=host.docker.internal:host-gateway: Adds the host gateway for internal communication.-v open-webui:/app/backend/data: Mounts a volume for persistent data storage.--name open-webui: Names the container “open-webui.”--restart always: Ensures the container restarts automatically if it stops.ghcr.io/open-webui/open-webui:main: Specifies the image to use from the GitHub Container Registry.
Step 2: Access OpenWeb-UI
Once the container is running, open your browser and navigate to:
1
http://localhost:3000
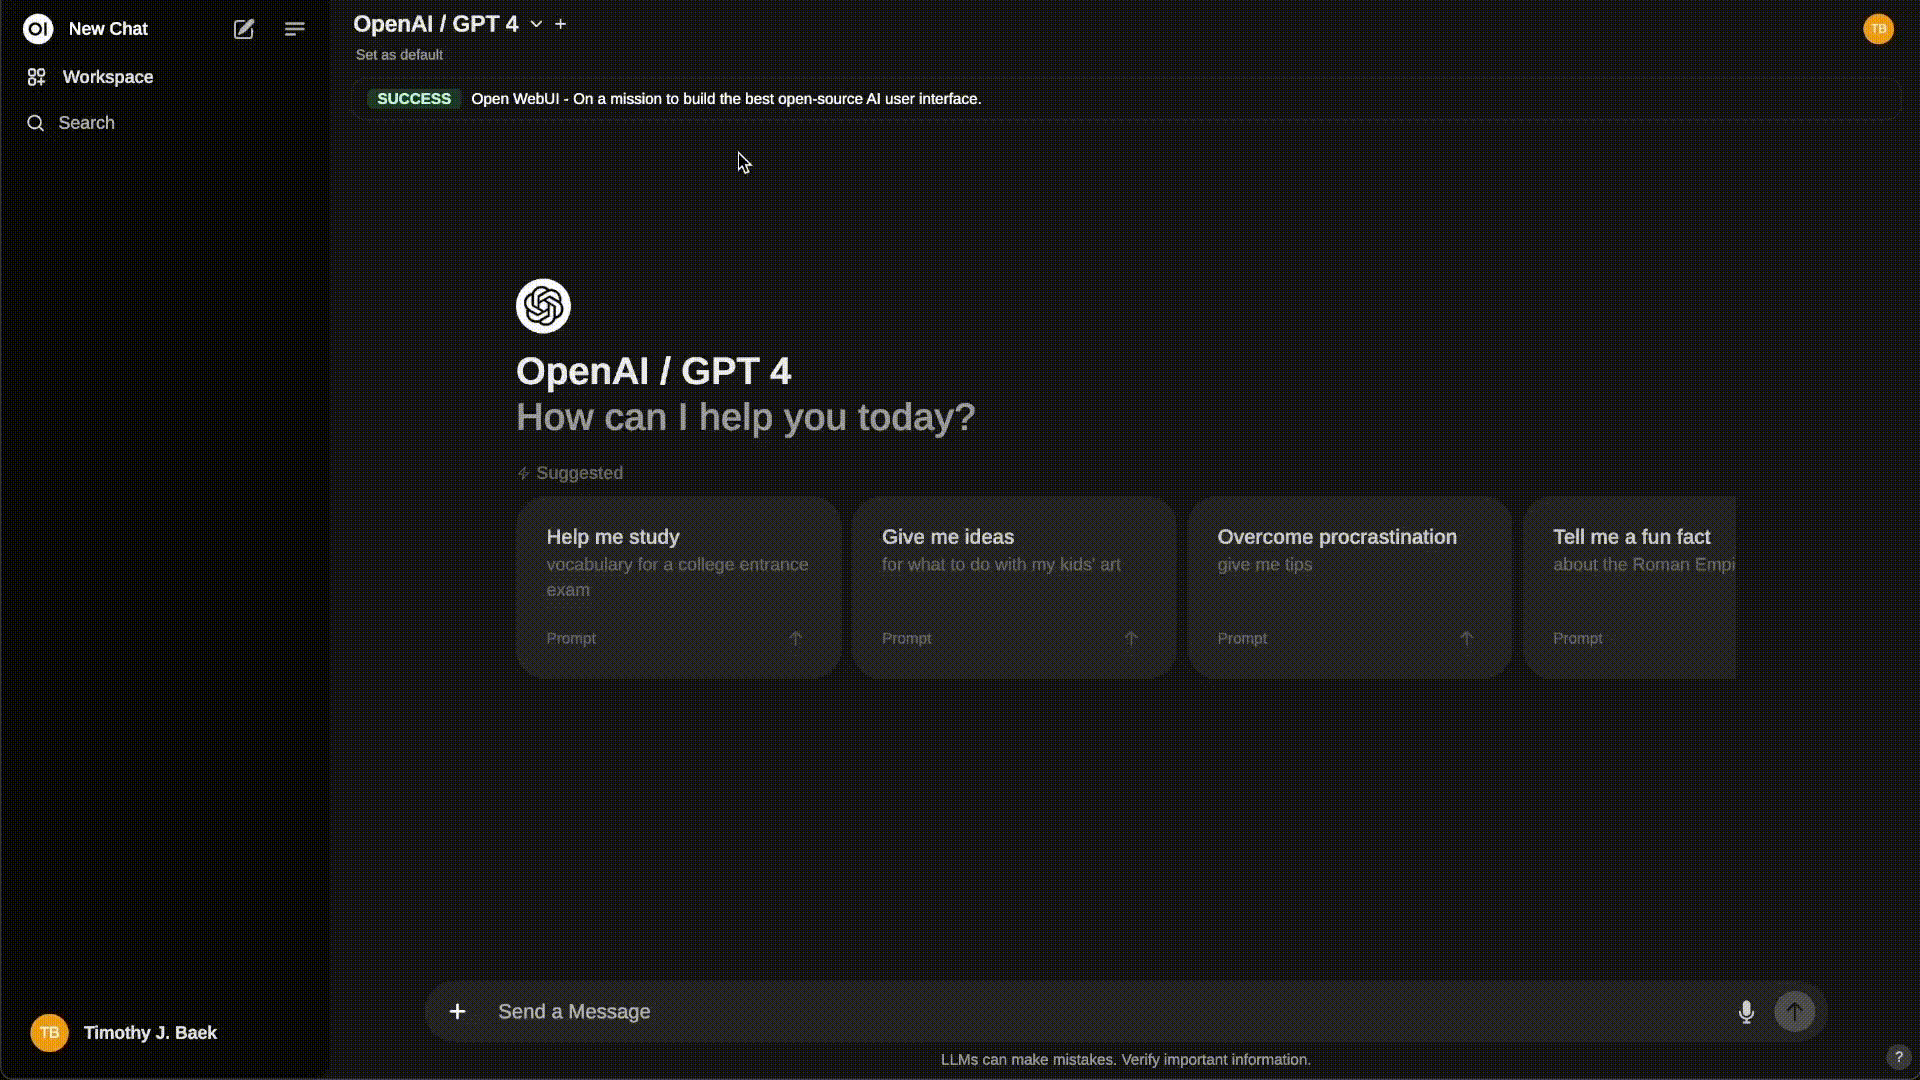
You should see the OpenWeb-UI interface up and running.
Step 3: Managing Your Setup
Here are some useful Docker commands to manage your setup:
- Check Logs:
1
docker logs -f open-webui - Stop the Container:
1
docker stop open-webui
- Restart the Container:
1
docker start open-webui
- Remove the Container:
1
docker rm -f open-webui
Step 4: Configure Persistent Data
The -v open-webui:/app/backend/data option ensures that data persists across container restarts. This means any data you store in OpenWeb-UI will remain intact even if the container is stopped or removed.
Common Troubleshooting Tips
- Port Conflicts: If port 3000 is already in use, modify the
-pflag:1
-p 3001:8080Access the UI at
http://localhost:3001. - Docker Not Running: Ensure the Docker daemon is active by executing:
1
docker info
- Permission Errors: Run commands with
sudoif required, or configure your user to access Docker withoutsudo.
By following these steps, you’ll have OpenWeb-UI set up and running on your machine with minimal effort. Enjoy offline AI on your machine with ease and without any privacy concerns!
PS: BTW checkout the memory and knowledge feature of openweb-ui it takes the AI experience to next level in personalisation and context.